Welcome back to another SecuringNinja tutorial. No cyber security researcher should be with out a database to practice their skills on, or just to store tons of relational data. Today we will show you how to install MySQL on a Mac. Having a local database is perfect for running websites locally, or for providing persistent storage for another application.
In this article we cover how to:
MySQL is very straight forward to install on a Mac. If you do not already have the Homebrew package manager for Mac you’ll need to install that first. If you would rather not install Homebrew you can also install MySQL using the DMG file available on the MySQL site.
Installing Homebrew on Mac
Lets start by opening up Terminal and installing Homebrew. Homebrew is a macOS package manager that makes installing packages on macOS a breeze.
To install Homebrew on Mac run the following command:
/bin/bash -c "$(curl -fsSL https://raw.githubusercontent.com/Homebrew/install/master/install.sh)"Once the install is complete go ahead and run an update to test that everything is working correctly.
brew updateWith Homebrew installed it is a simple matter to install MySQL.
Installing MySQL on Mac with Brew
Installing MySQL with Brew is a breeze. All it takes is:
brew install mysqlThis will install the most recent version of the package available on Brew. As of this writing it is MySQL version 8.0. To install a different version simply append the version to the end of the package with an @ symbol. For example, to install MySQL 5.7 use:
brew install mysql@5.7If you don’t want to install Homebrew you can also install MySQL with the DMG file available for download as described below.
Installing MySQL with a DMG file
You can also install MySQL via the DMG file on the MySQL downloads page. This will add a MySQL preference pane in System Preferences as well. You can start and stop your server from here too.
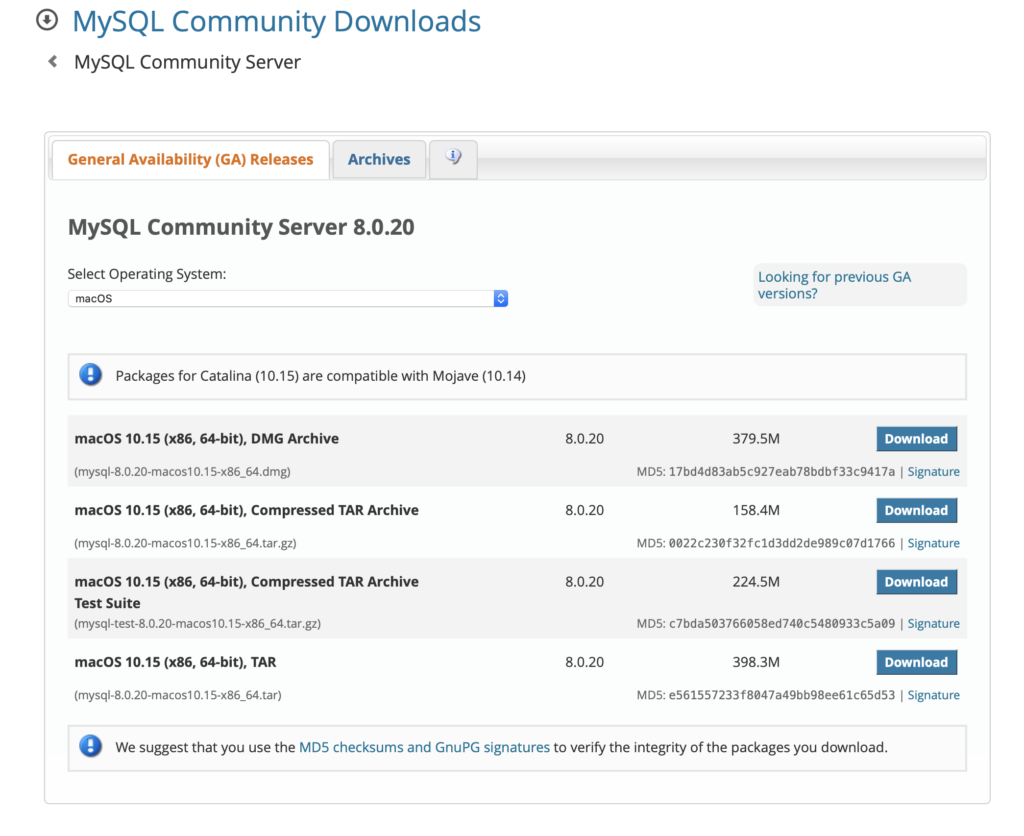
First begin by downloading and mounting the DMG file available from the MySQL Community downloads page. Make sure you grab the appropriate DMG for your OS version.
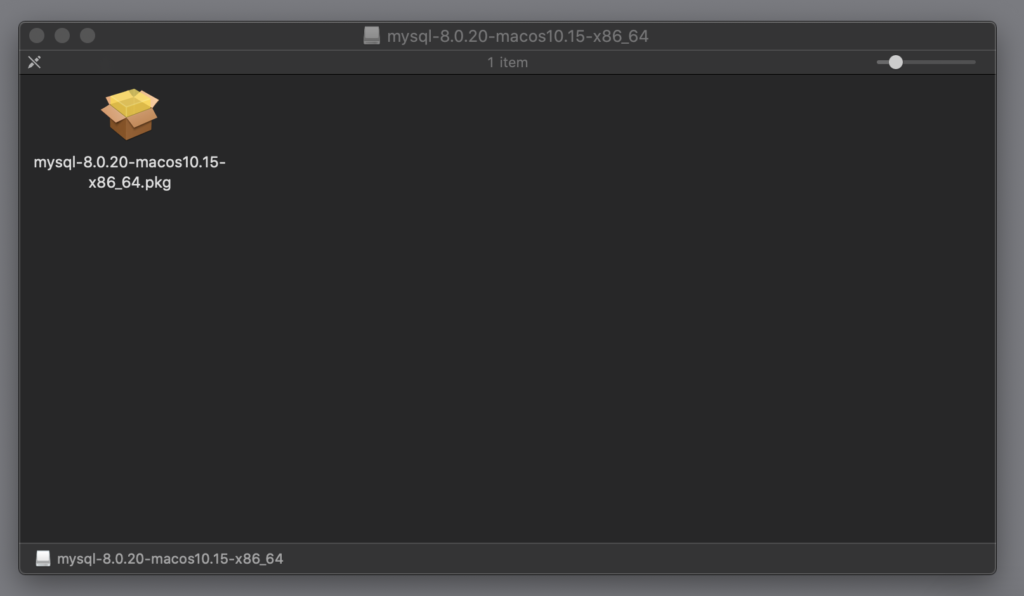
Mount the DMG and double click the .pkg file to begin the installation.
Step through the installer installer and make a note of your temporary root password. You will need this for the initial connection to the server. DO NOT LOSE IT!
The server will require that you update your password on the first login. MySQL server is now installed. To start the server use launchctl or the MySQL preference pane in System Preferences. The server uses very few resources while running in the background so there really is no need to start and stop the server each time.
To start the server via launchctl:
sudo launchctl load -w /Library/LaunchDaemons/com.oracle.oss.mysql.mysqld.plistThis instructs MySQL to start when the system boots up.
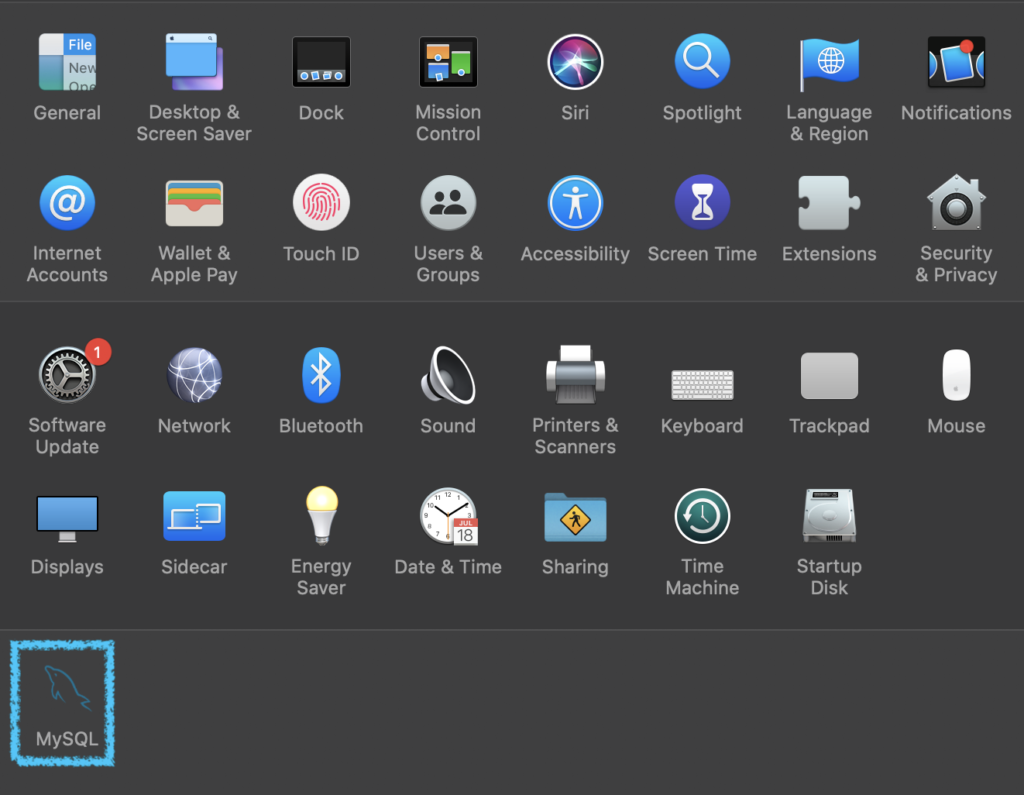
You can also start and stop MySQL through the System Preferences pane. Open System Preferences and select MySQL:
And finally, start or stop the server as needed.
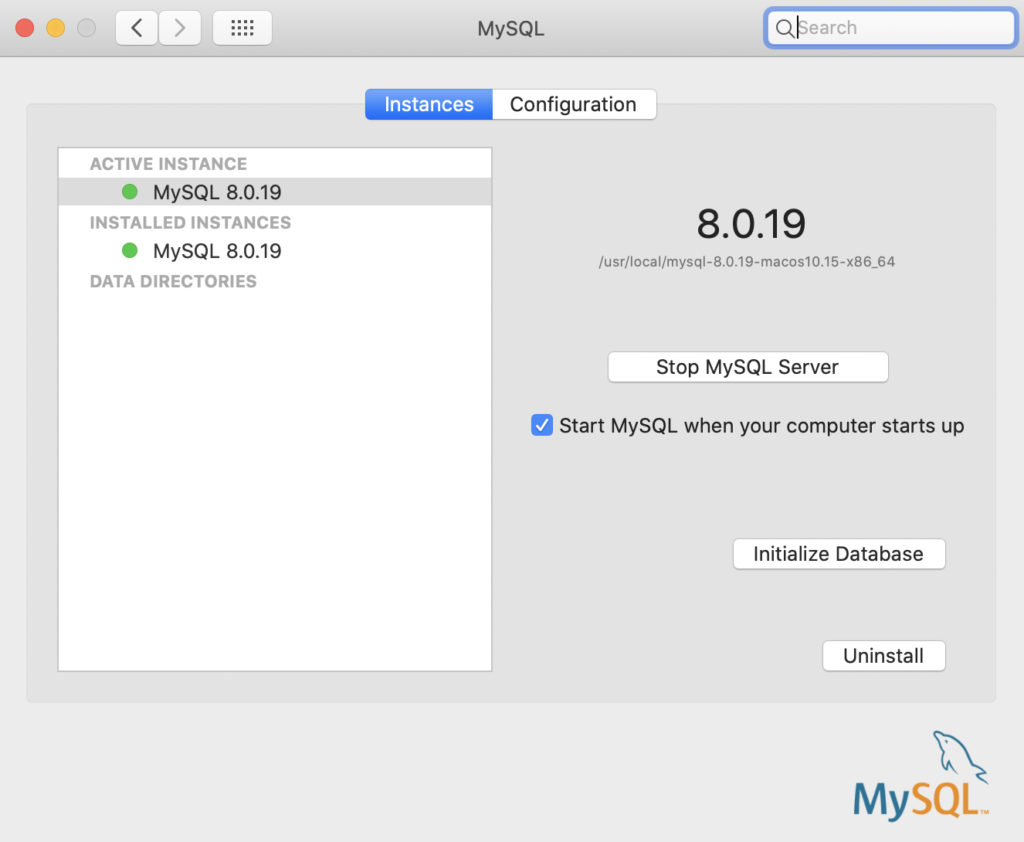
From this preference pane you can also edit the MySQL server configuration, re-initialize the database, and uninstall MySQL server entirely. We cover how to uninstall MySQL on Mac in the next section.
Uninstalling MySQL on Mac
If you installed MySQL via the DMG file method then uninstalling is extremely straight forward. Navigate to the MySQL preference pane in System Preferences, and click Uninstall. Thats it! MySQL has been uninstalled.
If you however installed MySQL using the Brew method described above, then there are a couple of extra steps.
Uninstalling MySQL on Mac with Brew
The steps below show how to uninstall MySQL installed with Brew. Begin by finding any running MySQL processes and stopping them. Then uninstall MySQL and remove all files.
# Stop all running mysql processes
ps -aux | grep mysql
kill <pid>
brew remove mysql
brew cleanup
sudo rm /usr/local/mysql
sudo rm -rf /usr/local/var/mysql
sudo rm -rf /usr/local/mysql*
sudo rm ~/Library/LaunchAgents/homebrew.mxcl.mysql.plist
sudo rm -rf /Library/StartupItems/MySQLCOM
sudo rm -rf /Library/PreferencePanes/My*
launchctl unload -w ~/Library/LaunchAgents/homebrew.mxcl.mysql.plist
# Remove user files if they exist
rm -rf ~/Library/PreferencePanes/My*
sudo rm -rf /Library/Receipts/mysql*
sudo rm -rf /Library/Receipts/MySQL*
sudo rm -rf /private/var/db/receipts/*mysql*What to do with your new database
Now that you’ve got a local database up and running you may want to take a look at how a SQL injection attack works. Your new database will be great for practice! If you have any issues getting your database up and running, please reach out in the comments below. We would love to assist you!